Ink
Ink


 Machines


 Studio supplies


 Power & batteries


 Aftercare


 Apprentice


 Piercing & jewellery


 PMU supplies


 New arrivals
 Sale
Sale
 Gift vouchers
 Shop all

To the untrained eye, a piercing needle is just another tool. But for a professional piercer, it represents the delicate balance between artistry, precision, and most importantly, safety. A single misstep can lead to complications ranging from infections to misaligned piercings.
The pressure to not only create a visually appealing piercing but also to ensure the health and satisfaction of every client is immense. With the myriad of piercing types, skin differences, and individual preferences, mastering the use of your piercing needle is not just about poking a hole—it’s about understanding the science, the technique, and the trust behind each puncture.
If you're a piercer looking to learn more about piercing, knowing how to use your piercing needles correctly from the start is essential. This guide will help you get it right and make your clients happy every time.
What is a piercing needle?
A piercing needle is a specialised needle designed to create a hole in the body for inserting high-quality body jewellery. Made of surgical steel, it minimises tissue damage. Unlike sewing needles, piercing needles are hollow, allowing them to remove a small piece of tissue and provide a smooth pathway for jewellery.

Step 1: Understand the different types of needles
Familiarise yourself with the various types of piercing needles. Each serves a specific purpose, so ensure you're using the right one for the job. Common types include:
- Cannula needles: Feature a plastic sheath around the needle. Used for most body piercings in the UK.
- Hollow needles: Straight and hollow, creating a hole by removing a small piece of flesh.
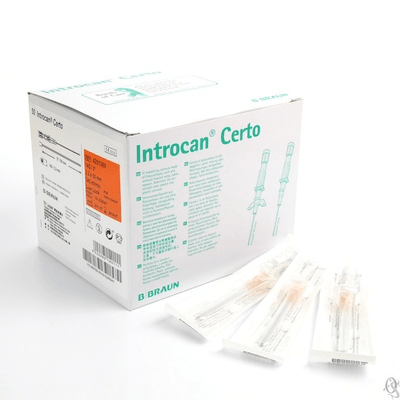
For optimal performance and safety, consider high-quality needles like B Braun Introcan Piercing Needles.
Step 2: Choose the catheter needle according to jewellery thickness
Match the needle’s gauge to the thickness of your chosen jewellery. The fit should be snug, allowing smooth insertion without enlarging the hole unnecessarily.
Step 3: Withdraw the needle, leaving the catheter in the puncture
After puncturing, carefully remove the needle while leaving the catheter (sheath) in place. This hollow tube guides the jewellery into the piercing, maintaining the hole’s shape.
Step 4: Insert the jewellery into the catheter
Use the catheter as a guide to insert your chosen piece of body jewellery. The catheter slides out as the jewellery moves into position.

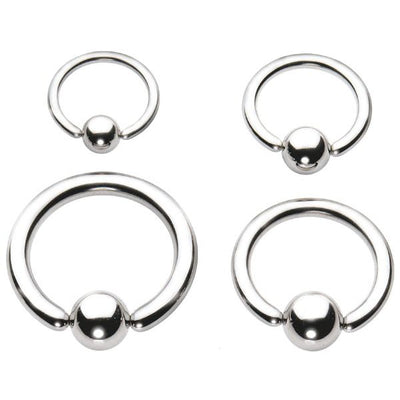
Step 5: Screw on the closure
Secure the steel ball or closure piece in place. This completes the look and ensures the jewellery stays positioned, reducing the risk of accidental removal or premature closure.
Additional tips for using piercing needles
- Pierce at a 90-degree angle to avoid pain and misalignment.
- Be gentle when inserting jewellery to prevent skin damage.
- Clean the piercing regularly with alcohol wipes or a piercing solution, such as Easypiercing® Saline Solution.

Conclusion
Piercing is an art requiring precision, knowledge, and strict adherence to safety protocols. Proper training is essential for professional piercers. While this guide provides an overview, hands-on experience under a skilled professional is irreplaceable. Always prioritise safety and hygiene.
Shop product