Ink
Ink


 Machines


 Studio supplies


 Power & batteries


 Aftercare


 Apprentice


 Piercing & jewellery


 PMU supplies


 New arrivals
 Sale
Sale
 Gift vouchers
 Shop all

Starting as a new tattoo artist can be tough, especially when drawing perfect outlines. It's easy to run into issues like shaky lines, uneven thickness, or even causing too much pain for your client. Getting the needle depth just right is tricky, and making mistakes early on can be discouraging.
So, we'll simplify the process, offering clear steps to improve your outlining skills and focus on building your confidence.
What are tattoo outlines and their purpose?
Tattoo outlines are the initial lines inked onto the skin that establish the basic shape and design of a tattoo. They act as a guide for the entire tattooing process, providing structure and definition to the artwork. The purpose of tattoo outlines is to ensure that the final piece has clear, precise boundaries and details.
Outlines are crucial because they determine the tattoo's overall appearance, ensuring the design is recognisable and accurately represents the artist's vision. They also make filling in colours or adding shading easier, as the outlines create distinct areas within the design.
In essence, tattoo outlines are the foundation upon which the rest of the tattoo is built, setting the stage for a successful and visually appealing final piece.
The best tattoo needle for outlining
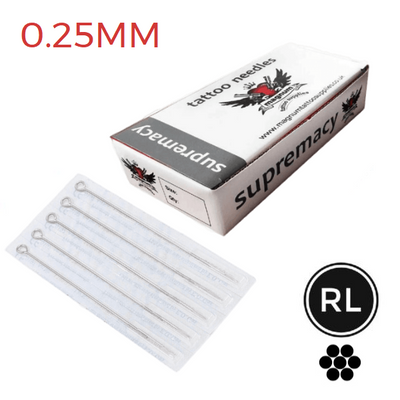
The best tattoo needle for outlining is typically a round liner needle, known for its precision and ability to create crisp, clean lines. Round liners have multiple needles arranged in a circle, making them ideal for detailed work, including intricate designs and fine lines. The "RL" label stands for round liner, indicating their specific use for outlining purposes. You can check out our Round Liners (RL) Tattoo Needles here on our website for quality needles.
If you need thicker and bolder lines, consider using a loose round liner. This type of needle allows you to lay down crisp, strong lines while maintaining control over the thickness. When working on areas that demand a thicker outline, such as back pieces, or when emphasising certain parts of your design, using a three- or five-needle outliner can help achieve smoother, more pronounced lines.
Choosing the number of needles in a round liner setup lets you customise the thickness and sharpness of your outlines. Fewer needles create finer details, whereas more needles produce bolder lines. This flexibility allows you to tailor your tool choice to each tattoo, ensuring the best result for your client.
List of tools for tattoo outlining
Besides the needle, several other tools are essential for tattoo outlining:
- Tattoo machine: Provides power and precision to transfer ink to skin.
- Tattoo ink: High-quality black or dark-coloured ink ensures vivid, lasting outlines. Check our collection, like Dynamic Triple Black.
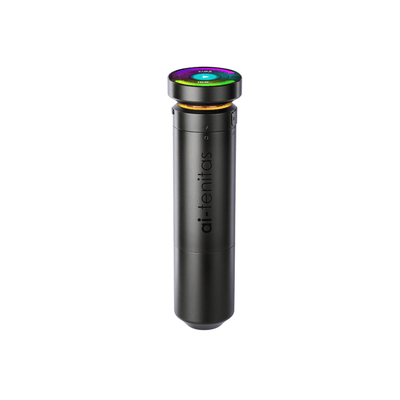
- Power supply: Regulates electricity to your tattoo machine for consistent needle movement.
- Foot pedal: Controls your tattoo machine hands-free, allowing you to focus on outlining.
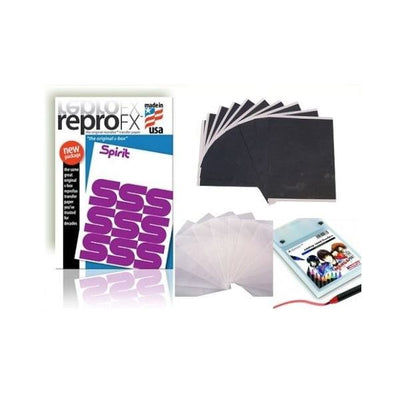
- Stencil materials: Stencil paper and transfer solution transfer your design accurately onto the skin.
- Skin preparation supplies: Razors, disinfectants, and barrier creams prepare and protect the skin for tattooing.
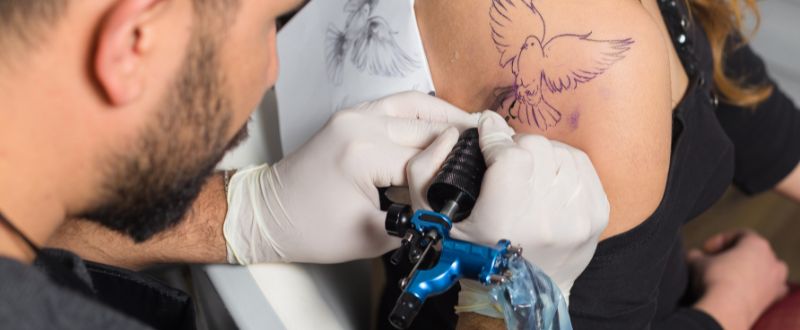
How to outline a tattoo
With a firm grasp on outlines and tools, it's time to learn the outlining process.
Step 1: Design preparation
Finalise your tattoo design. Sketch your idea on paper, refining it until satisfied. Transfer it onto stencil paper by hand or using a thermal printer. Learn more in our guide How to make a tattoo stencil like a pro: Step-by-step.
Step 2: Skin preparation
Clean and shave the skin area. Re-clean after shaving to avoid irritation or infection.
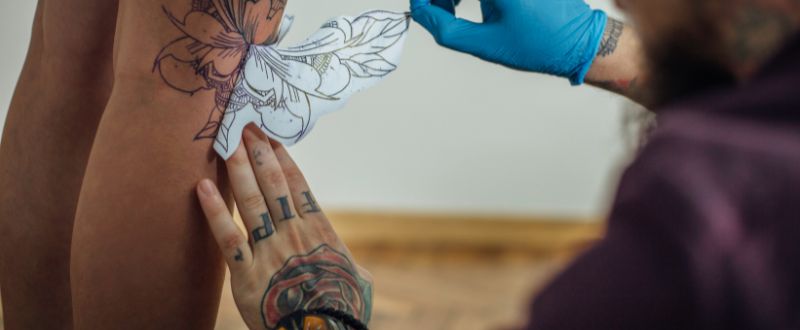
Step 3: Applying the stencil
Apply stencil transfer solution to the skin. Press the stencil paper evenly and remove it after a few seconds, leaving a clear blueprint on the skin.
Step 4: Setting up your equipment
Attach the appropriate round liner needle to your tattoo machine. Fill ink caps with your outline ink. Connect the power supply and position the foot pedal comfortably.
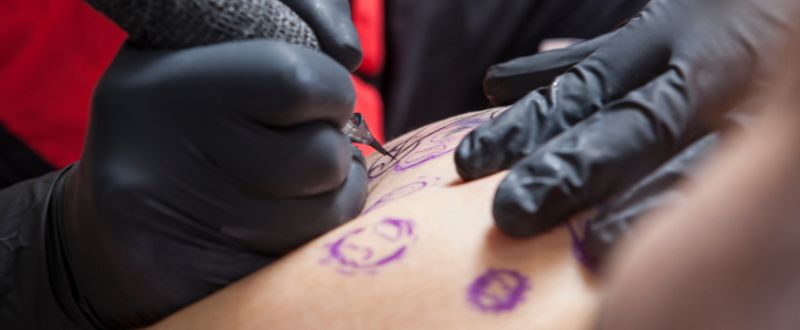
Step 5: Outlining the tattoo
Dip your needle into the ink. Follow the stencil lines, keeping the skin taut. Work from bottom-up (right-handed) or top-down (left-handed) to avoid smearing. Maintain consistent speed and pressure for even lines.
Step 6: Cleaning and inspecting
Wipe away excess ink and check your lines. After completing the outline, clean the tattoo and make any necessary touch-ups.
Step 7: Tattoo aftercare advice
Apply a thin layer of tattoo aftercare ointment and cover with a sterile bandage. Advise clients to keep the tattoo clean, avoid direct sunlight, and not submerge it in water for long periods.
Techniques in outlining a tattoo
- Stretch the skin: Keep skin taut for a smooth surface.
- Angle and speed: Maintain consistent angle and speed for uniform lines.
- Starting and stopping: Begin with small anchor points, proceed with smooth strokes.
- Wiping: Remove excess ink regularly.
- Adjusting depth: Fine-tune needle depth for optimal ink placement.
- Checking symmetry: Assess alignment and symmetry periodically.
- Layering lines: Overlap carefully for thicker or bolder outlines.
- Minimising touch-ups: Aim for precision to reduce corrections later.
- Managing pain and bleeding: Adjust technique for client comfort.
- Hydration: Keep skin slightly lubricated for smoother needle movement.
- Continuous communication: Check in with clients and adjust as needed.
Final words
Learning to create clean tattoo outlines takes practice. Be patient, practice consistently, learn from mistakes, and seek advice from experienced artists. With dedication, you’ll build confidence and create precise, beautiful outlines.
Shop product